How to Make a Crochet Hacky Sack · Craftwhack
Have yous always desperately wanted to make your very own hacky sack? The peachy news is that y'all can, with just a crochet claw, some yarn, some heavy filling, and a bit of patience! Yous can choose any colors you like, adapt the design to suit your tastes, and brand your very own crochet hacky sack to show off to friends.
Hacky sacks are dandy fun for kids and adults to play with, and make good toys that you can stuff in a purse for any occasion. Personalized crochet hacky sacks also brand fantastic gifts, and they are very easy to make once yous know what you lot're doing!
Try this crochet hacky sack with your child or just have a go yourself – y'all might be surprised by how uncomplicated it is, and by how transferable the skills you'll use are for other projects.
Source: https://www.youtube.com/spotter?v=PZafPJ5K2MQ
Y'all Will Need:
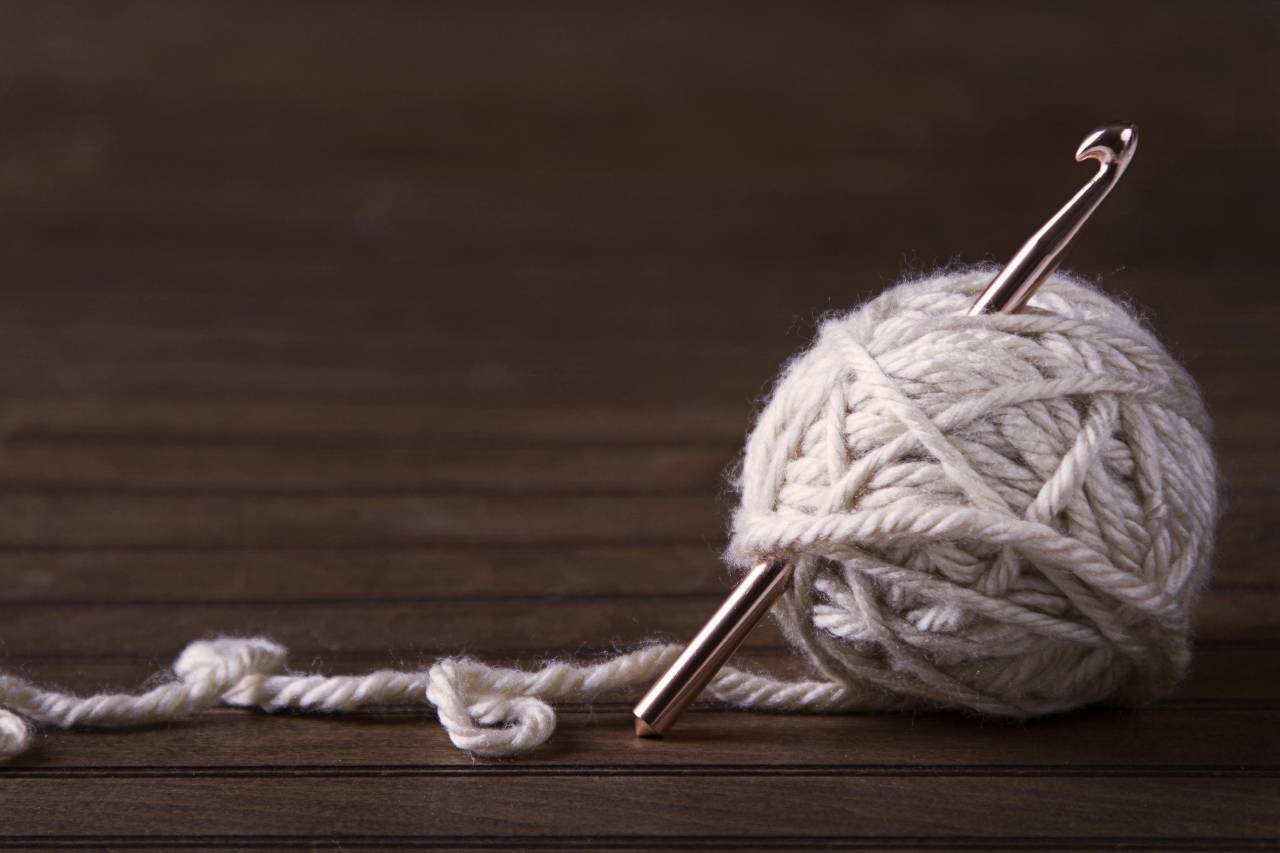
- Cotton yarn in your colour(s) of choice
- 3 mm hook (or another thin one; yous do not desire large holes in the hacky sack or the filling volition fall out)
- Stitch markers
- An embroidery needle
- Sharp scissors
- Rice or some other weighted stuffing, e.g. dried beans. Don't use lite stuffing or the hacky sack won't have enough weight to play with.
Stride i: Start Off
You are going to begin this craft by creating a magic loop. To exercise this, accept the terminate of your yarn, and brand a circle in it, with a tail sticking out to 1 side. Position the yarn that is even so attached to the brawl below the circumvolve, so pull it through the center of the circle, but do not pull the yarn tight.
Put your hook in the loop you lot have just made (with the long end of the yarn). Exercise a chain stitch to secure the magic loop.
Y'all are now going to do six single crochets into this magic loop, starting off the hacky sack. Brainstorm by holding the two loops of yarn in your non-ascendant hand, to the left of the claw. Loop your hook underneath them, and beneath the yarn that still leads to the ball.
Loop the yarn leading to the brawl over, and then draw your hook back through the first two loops of yarn (that form the circumvolve) to end up with just 2 loops on your claw. Put the yarn over your hook again, and pull through to finish the single crochet.
Repeat the procedure, going through the center of the loop so that you take the circle of yarn over your hook, and so loop the end of the yarn over your hook and pull information technology through so that y'all finish upward with 2 loops over the hook again. Put the yarn over, and pull through to finish the single crochet.
You are going to do this until you have half-dozen single crochets in your loop. These will only comprehend nearly a quarter (or maybe slightly less) of the loop; that'due south not a problem, because you're going to deal with the remaining length at present.
Accept the brusque end of the yarn that is not fastened to the ball and gently tug so that information technology pulls the magic loop in to course a tight circumvolve. Put a stitch marker in the terminal sew. If you don't have a marker, use a strand of contrasting wool or something similar.
Tie the loose end to the other side of the yarn in a tight knot so that the magic loop cannot pull open again.
Stride 2: Begin Increasing
Crochet two single crochets in every stitch effectually the circumvolve. Become through both loops. You want to keep your stitches adequately tight so that your rice or filling won't fall out. Yous may observe it a little tricky, just with exercise, you'll soon find it speeds upward.
Work correct effectually the circle. When you reach your stitch marker, move it to your new stitch.
In the second round, you are going to put unmarried crochet into the start stitch. In the second stitch, put ii single crochets. In the 3rd run up, put one, and in the quaternary, put two. Continue alternating between one unmarried crochet and two single crochets until you reach the end of the second round.
 Stride iii: Continue Increasing
For the third round, you are going to put single crochet into the get-go stitch and the second stitch, and two single crochets into the tertiary stitch. Put single crochet in the 4th and 5th stitches, and two single crochets in the sixth stitch. Proceed all the way effectually, putting two single crochets into every third sew together.
For the fourth round, yous are going to put a single crochet in the starting time stitch, 2d stitch, and third stitch. Put two single crochets in the 4th stitch. You will then put a single crochet in the fifth, sixth, and 7th stitches, and two single crochets in the eighth stitch. Keep this sequence all the way around.
In the 5th round, put a unmarried crochet in the first, second, tertiary, and fourth stitches, and 2 single crochets in the fifth stitch. Continue this sequence around.
You tin cease whenever yous experience that the hacky sack is big enough. You may want to experiment with small ones first while you get the hang of the procedure, or yous might wish to simply make ane bigger.
Brand a note of what round you end increasing on and then that you know which stitch was the final increase (if you stop on the 7th circular, it will be the seventh sew together).
Pace iv: Crochet Further
In one case you are happy with the width of the hacky sack, continue doing unmarried crochets in each stitch around the circle until the brawl is the size you would like. Recollect that making a large ball will add weight to it, especially if y'all are using something heavy to fill it with.
You can do every bit many rounds of single crochets as yous like, making the ball as long and oval as you prefer. Remember to keep moving your stitch mark on every round so you lot can e'er tell where a round starts and finishes.
Pace 5: Get-go Decreasing
Glance back at your note of which stitch was your last increase. If it was the seventh round, you are going to start decreasing in the seventh sew.
Do unmarried crochet in the showtime, 2d, third, fourth, and 5th stitches. When you reach the sixth sew, put your claw through and pull one loop of yarn through. Yous should then have two loops on your hook.
Insert the hook into the seventh sew, pull a loop through then you have three loops on your hook, and then put your yarn over and pull the yarn through all 3 loops. Y'all have now decreased one stitch.
Put single crochets in the next five stitches, and so do a single crochet subtract between the thirteenth and fourteenth stitch (if you are decreasing on seven stitches). Proceed doing this correct effectually the circle.
When you reach the terminate of your round, move the stitch marker, and reduce the number of stitches you are decreasing between past one. For example, if you have just decreased on every seventh sew, yous volition now subtract on every sixth sew.
This will brand a mirror image of the crochet increases you did in the first rounds. Continue doing this until you have a gap of only nearly 1-ane.5cm across, and then it's time for the next step.
Step 6: Add The Filling
Get your filling and pour some into the ball. Yous can coil a piece of paper up to make a funnel if that makes information technology easier to pour, or just tip it in by hand or from a parcel. Remember to make sure your filling is dry!
Fill the ball to the pinnacle. It wants to exist a little squishy, but you tin can beget to add lots of rice (or beans) and then that it will stand up upwards and provide a nice weight for throwing.
Endeavour not to fill it so full that it spills over the edges of the cotton fiber, but don't leave it empty. Y'all tin can ever add together a few more beans or grains of rice to the brawl before you tie it off, but information technology volition be fiddly.
Stride seven: Finish Decreasing
Deport on decreasing until there are simply six stitches left around. This should leave you lot with quite a small opening, which now needs to be airtight.
When y'all have just six stitches, cut your yarn, leaving a long trail. Pull your yarn through using the claw, tugging information technology gently then that the last round is finished firmly and in that location's no take a chance of it coming undone while existence played with.
Step 8: Tie Off
Finally, thread the needle onto the yarn cease, and position your needle beyond the hole, with the point outward. Go under both loops of the first stitch and pull the yarn through.
Weave back to go through both loops of the 2d stitch, and so weave out to become through both loops of the tertiary. Do this for all six stitches, so you lot stop up dorsum at the outset. When you get in that location, pull hard so that the yarn tightens and the hole closes.
Y'all can spend a picayune more time crisscrossing the yarn back and forth with the needle to make a tighter seal, but this should exist sufficient. Knot the yarn firmly, loop it into and out of one stitch, and knot once more.
Slide the needle down your yarn, away from the end, and then cut the stop so that information technology is a little shorter than the hacky sack. Apply the needle to pull the cease through; because the yarn is short, the stop should get left inside the hacky sack, while y'all can pull the needle out once more. This will requite you a great terminate.
Yous're now done! You can use a colored thread and a normal sewing needle to embroider the hacky sack with someone'due south name or with a beautiful picture if you similar, just yous have now got a complete hacky sack ready to play with.
Conclusion
Hacky sacks are super easy to brand, and they involve practicing some not bad skills, such as increasing and decreasing, as well as magic loops. This is an excellent project to exercise with children who are learning to crochet and will give them a fun toy they can prove off to their friends every bit a mark of their skill.
Try making their hacky sacks individual by showing them how to change colour partway through, or using a multicolored yarn if you desire to proceed the projection simple.
You could sew on some pom poms or other soft embellishments, but as hacky sacks are designed to be thrown effectually, it'southward best to avoid whatever hard additions similar buttons, googly eyes, etc., as these could hurt somebody.
Source: https://craftwhack.com/how-to-make-a-crochet-hacky-sack/
0 Response to "How to Make a Crochet Hacky Sack · Craftwhack"
Post a Comment